
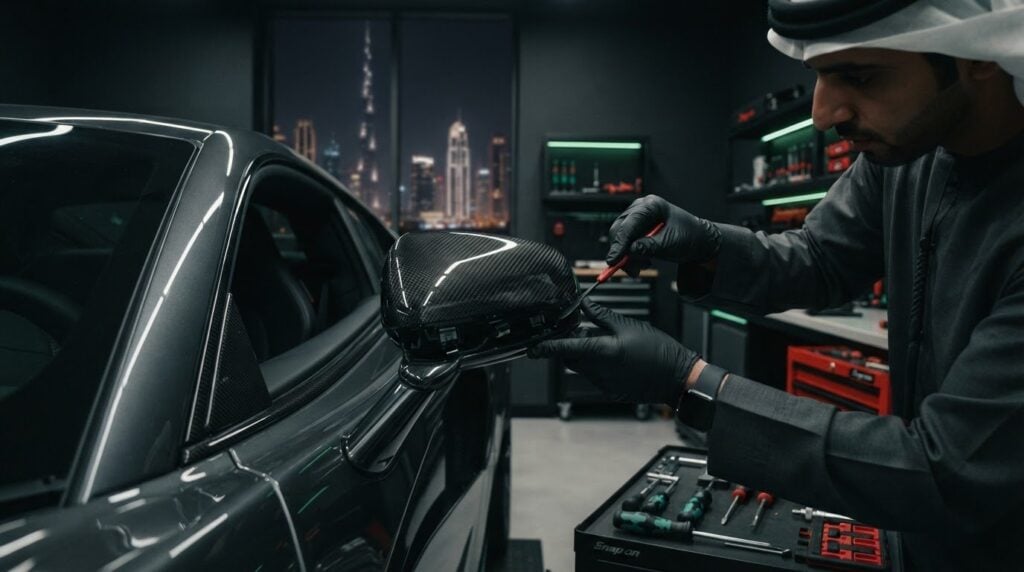
Force is the fastest way to turn a simple mirror upgrade into broken clips or a marked housing. A clean installation depends on confirming fitment, understanding how the cap attaches and protecting the finish, not muscle. Before starting carbon fiber mirror caps installation, match the part to your vehicle’s exact make, model, year, trim and mirror configuration.
First identify what you’re fitting. An adhesive-on overlay sits over the original cap, while a full replacement takes its place. That difference affects the work, tools and risks to the mirror assembly. This guide explains how to check compatibility, identify the cap type and follow a careful installation process. You’ll learn how to protect the housing, work with retaining clips without forcing them, and recognise when to stop. If the removal procedure is unclear, the part doesn’t align or clips resist, ask a specialist before continuing. Good preparation helps protect both the mirror and the finish you’re adding.
Key Takeaways
- Check the cap’s exact vehicle fitment and supplied instructions before removing any parts.
- Compare overlays and full replacements by attachment method, preparation requirements and removal process.
- Use vehicle-specific service information as your guide. The carbon fiber mirror caps installation process isn’t universal.
- Choose DIY or professional fitting based on access, tools, attachment method and your confidence with delicate components.
- After fitting, check alignment, retention, mirror adjustment and any integrated functions. Pause if anything feels uncertain.
Carbon Fiber Mirror Caps Installation: What the Upgrade Involves
Mirror caps are the exterior covers fitted over a vehicle’s side-mirror housings. Depending on the part, an upgrade may cover the original cap or replace it, changing the mirror’s appearance without repairing or replacing the mirror assembly itself. A cracked housing, loose mirror or faulty adjustment mechanism needs separate assessment. A cosmetic cap isn’t a structural repair.
In brief: Carbon-fibre mirror caps are exterior trim pieces or overlays designed to give a mirror a carbon-fibre finish. Installation changes the cap’s covering or outer component, not the mirror’s core function.
Some parts use carbon fibre reinforced polymer, while an overlay may simply provide a carbon-fibre appearance. The Carbon Fiber Reinforced Polymer overview explains the composite material and its automotive applications. Don’t assume every product described as “carbon” has the same construction. Check the material details and fitting instructions for the specific part you’re considering.
Replacement caps versus adhesive-on mirror covers
Replacement caps take the place of the original outer cover and typically secure to vehicle-specific mounting points or clips. Removing the factory cap may require careful access to those retainers. The release points and sequence depend on the vehicle.
Overlays attach over the existing cap and follow the product’s specified preparation and attachment method. Before buying, inspect the product photos and instructions. Confirm whether the part sits on top of the original or replaces it, and check what removal, surface preparation or adhesive steps are specified. The terms “cover” and “cap” alone don’t always identify the fitting type.
Check the vehicle before choosing a fitting method
Fitment can differ across model years and trims, even within the same model range. Compare the supplier’s fitment details with your vehicle’s make, model, model year, trim and mirror configuration. Check for integrated features such as indicators or cameras, since these can affect the cap’s shape, openings or compatibility.
Don’t treat carbon fiber mirror caps installation as a universal procedure. One vehicle may have accessible clips; another may require a different removal sequence. Read the part instructions and vehicle-specific service information before starting. If fitment is uncertain, ask the supplier to confirm compatibility before removing the original cap. That check can prevent a mismatched part from becoming a fitting problem.
Fitment, Materials, and Tools to Check Before Installation
Preparation starts with the part, not the trim tool. Read the supplied instructions and confirm the exact vehicle application before beginning carbon fiber mirror caps installation. The attachment method determines what preparation is needed and whether the original cap must be removed.
| Check | Replacement cap | Adhesive-on overlay |
|---|---|---|
| Attachment | Uses vehicle-specific mounting points or clips. | Attaches over the existing cap using the product’s specified method. |
| Preparation | Review the removal and fitting sequence in the vehicle and part instructions. | Prepare the existing cap only as directed by the product instructions. |
| Removal | Usually requires releasing the original cap, but the method varies by vehicle. | May require removal of the overlay later; follow the supplier’s guidance. |
| Checks | Verify mounting points, clip locations, mirror features and part alignment. | Confirm the overlay matches the cap’s shape and leaves features unobstructed. |
How to confirm carbon-fibre mirror-cap compatibility
Compare the supplier’s stated application with your vehicle’s make, model, model year and trim. Then check the mirror itself. Its shape, indicator position, camera equipment and other visible features should match the part design. Similar-looking models can have different mirror configurations, so don’t rely on the vehicle name alone.
Before fitting, inspect both delivered parts for cracks, finish defects and matching left-right profiles. Hold them beside the mirrors for a visual comparison, without forcing them into place. If any detail is unclear, ask the supplier to confirm compatibility before removing anything.
Prepare the mirror and work area safely
Set up a clean, well-lit workspace with minimal dust, and protect nearby paintwork. Keep the preparation simple:
- A suitable trim tool, used only where the vehicle procedure permits it.
- A soft cloth and a clean working surface.
- Any product-specific materials required by the supplied instructions.
Clips, fasteners and access points vary by vehicle. Check the manufacturer’s service information for the correct removal sequence rather than assuming the same method works across models. Avoid solvents, heat or additional adhesive products unless the part instructions explicitly call for them. If you’re unsure whether specialist handling is appropriate, ask Vanguard Motors Dubai about carbon-fibre installation and repair and whether it can assist with your vehicle and mirror caps.
DIY or Professional Fitment: Which Mirror-Cap Option Makes Sense?
The right route depends on the work involved, not the prestige of the vehicle or the carbon-fibre finish. An overlay with clear instructions and straightforward access may suit a confident DIY installer. A full replacement can require more care if clips are difficult to reach or the mirror includes integrated equipment. Assess the attachment method, access and tools, and whether you can follow the vehicle-specific procedure without forcing parts.
| Factor | DIY may suit you if… | Consider professional help if… |
|---|---|---|
| Access | The cap is accessible using the documented procedure. | Removal points are hidden or access is unclear. |
| Attachment | You understand how the overlay or replacement secures. | Clips or fasteners feel fragile, damaged or unfamiliar. |
| Tools | You have the suitable tools specified for the task. | Specialist access or handling appears necessary. |
| Confidence | You can work patiently and stop if resistance occurs. | You’re unsure how to release or refit components safely. |
Choose professional help when you’re uncertain about the correct removal method. A premium vehicle doesn’t automatically require specialist fitting, just as an affordable overlay isn’t automatically easy to install. Base the decision on the actual fitment instructions and mirror assembly.
When a careful DIY installation may be suitable
DIY can be reasonable when the part’s vehicle-specific fitment is confirmed, the instructions clearly explain the attachment method, and the mirror assembly and original mounting points appear intact. You should be able to work steadily without bending clips, levering against painted surfaces or guessing at the release sequence. If the part doesn’t align naturally, stop rather than applying pressure.
When to pause and consult a specialist
Stop if the cap resists removal, clips begin to flex or the mirror assembly moves unexpectedly. Cameras, indicators, heating and other integrated features can make access more complex. Don’t proceed if you can’t establish how the vehicle-specific procedure accounts for them. Damage is different from a straightforward cap swap. If the cap or surrounding carbon fibre is cracked or otherwise damaged, review carbon fibre installation and repair options and ask whether Vanguard can assist with your vehicle and mirror caps.
How to Install Carbon Fiber Mirror Caps Without Forcing the Clips
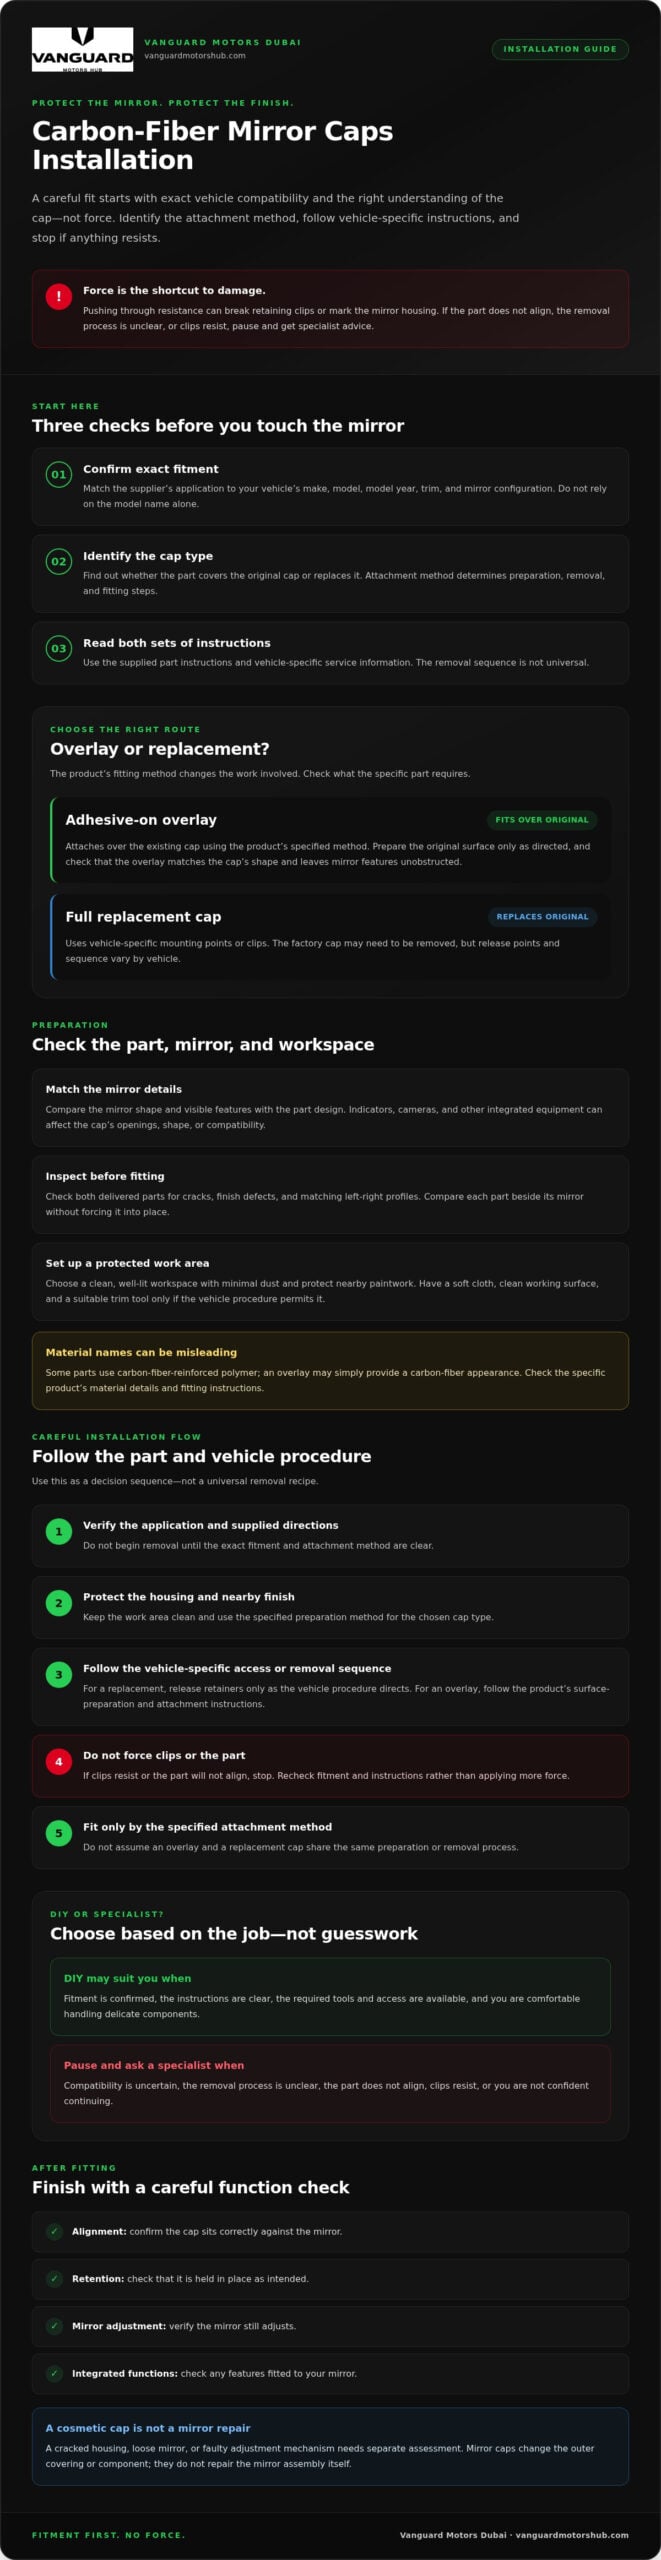
Use this as a general framework, not a universal procedure. The vehicle’s service information and the cap manufacturer’s instructions take precedence at every stage. Vehicle-specific instructions govern every clip-release and fastening step. If you can’t identify the correct release points or sequence, stop and confirm the method before proceeding.
First, identify the type of part. A replacement cap may require removal of the original; an adhesive-on overlay generally follows its own preparation and attachment instructions. Don’t use replacement-cap removal steps for an overlay.
Prepare and remove the original cap carefully
- Prepare: Park in a clean, well-lit workspace. Gather the specified tools and protect nearby paintwork and mirror glass with a soft cloth or suitable protective material.
- Locate release points: Use reliable, vehicle-specific instructions to identify clips, fasteners and access points. Don’t pry blindly or assume the cap releases in the same direction as another vehicle’s.
- Release gradually: Follow the documented sequence, using only the method and tool specified. If the cap resists, a clip starts to flex or the mirror assembly moves, stop. Resistance may indicate an unseen fastener or an incorrect release method.
Keep the original cap and any removed fasteners together. Avoid placing tools against painted surfaces or using force to overcome an uncertain attachment.
Trial-fit, secure, and inspect the new cap
Before engaging clips or applying any specified adhesive, position the new cap for a no-force alignment check. Compare its edges and openings with the mirror housing and integrated features. If it sits unevenly or fails to line up, remove it and recheck fitment. Don’t use fastening pressure to pull a mismatched part into place.
Once alignment is correct, follow the supplied attachment sequence. Apply even pressure only at approved fixing points, and use adhesive or other materials only if the instructions specify them. A clip that won’t engage may be misaligned or damaged. Don’t keep pressing.
Finish by checking that the cap edges sit evenly and the part is retained as directed. Confirm unobstructed mirror movement and test any integrated features affected by the work, such as indicators or cameras. If anything looks loose, sits proud or doesn’t function as expected, pause and seek experienced help rather than attempting an improvised adjustment.
If you’d prefer specialist handling, enquire with Vanguard about your vehicle and mirror caps. Vanguard provides carbon-fibre installation and repair. Confirm whether it can assist with your specific mirror-cap fitment.
After Installation: Finish Checks and When to Enquire About Expert Help
A careful carbon fiber mirror caps installation doesn’t end when the cap appears to sit in place. Check the result in good light from the front, side and underside. Look for even edges and consistent gaps, but don’t pull, bend or lever the fitted part to test it. Confirm that it appears retained as specified in the part instructions.
Spot common installation issues early
Look closely for loose edges, movement, rattles, uneven gaps or visible adhesive residue. Don’t try to hide poor alignment with extra adhesive or pressure. First identify the cause: the part may be misaligned, incompatible or not fully seated according to its instructions. If it won’t settle without force, stop and seek guidance.
Test the mirror adjustment through its normal range. If the work involved access near indicator wiring, camera housings, heating elements or other integrated features, check that each affected function still operates as expected. If something behaves differently, avoid further disassembly until the correct inspection procedure is clear.
For aftercare, follow the cap manufacturer’s guidance. Avoid unverified chemicals, abrasive products or immediate polishing unless the instructions specifically approve them. If the part has residue or needs cleaning, use only the recommended method to avoid compromising its surface or attachment.
Choose a specialist for complex fitment or carbon-fibre damage
Uncertain fitment, a cap that won’t sit flush, damaged mounting points or a cracked part are good reasons to pause rather than improvise. A cosmetic cap won’t correct damage to the mirror assembly, and extra force can create further problems. Keep the part instructions and vehicle details available when asking for advice.
Vanguard offers carbon fibre installation and repair, but whether it can assist with a specific mirror-cap job depends on the vehicle and requested work. Review its carbon fibre installation and repair services and enquire with your make, model, year, trim, mirror configuration and a description of the issue. These details help the team confirm whether it can assist.
Make Your Mirror-Cap Upgrade with Confidence
A refined result starts before fitting: confirm the cap matches your exact vehicle and mirror configuration, then identify whether it’s an overlay or a full replacement. During carbon fiber mirror caps installation, follow the vehicle-specific procedure and part instructions at every stage. If a cap resists, clips flex or alignment looks uneven, pause rather than forcing the fit.
Finish with a careful visual check, test mirror adjustment and any affected integrated features, then follow the manufacturer’s care guidance. These steps help protect the mirror assembly as well as the new finish.
For complex fitment or a damaged carbon-fibre part, Vanguard lists Carbon Fibre Installation & Repair among its services and focuses on premium vehicle protection and aesthetic enhancements. Mirror-cap assistance isn’t confirmed for every vehicle, so share your make, model, year, trim and requested work to check whether the team can help. Enquire about carbon fibre installation for your vehicle.
Frequently Asked Questions
Can I install carbon fiber mirror caps myself?
Yes, carbon fiber mirror caps installation may suit a DIY approach if the part is confirmed for your vehicle, the instructions are clear, and the mirror assembly and mounting points are intact. Follow the vehicle-specific removal procedure, not a generic guide. If the cap resists, clips flex or you’re unsure how it releases, stop rather than applying more force and consider specialist help.
How do I know whether carbon fiber mirror caps will fit my car?
Compare the supplier’s fitment information with your car’s make, model, model year and trim. Check that the mirror shape and configuration match, including indicators, cameras or other integrated features. Product photos can help you compare the part, but they don’t replace confirmed application details. If any information is uncertain, ask the supplier to verify compatibility before removing the original cap or attempting a trial fit.
Are replacement mirror caps better than adhesive-on covers?
Neither option is automatically better for every vehicle. A replacement cap takes the place of the original and generally attaches to vehicle-specific mounting points or clips. An adhesive-on cover sits over the existing cap and follows its own preparation and attachment instructions. Compare the fit, finish and installation requirements for your vehicle, then choose the type that suits your needs and confidence with the work involved.
Can mirror-cap clips break during removal?
Yes, clips can be damaged if they’re forced, levered from the wrong point or released in the wrong sequence. Their locations and release methods vary by vehicle, so check the manufacturer’s service information before starting. Use an appropriate trim tool only where the procedure permits it. If the cap resists or a clip begins to flex, stop and check for an unseen fastener or incorrect method.
Do I need to remove the mirror glass to install mirror caps?
Not necessarily. Whether mirror glass needs to be moved or removed depends on the vehicle’s design and the specified cap-removal procedure. Don’t assume it’s required, and don’t try to remove the glass based on a guide for a different model. Check the vehicle service information and part instructions first. If the sequence is unclear, consult an experienced professional before disturbing the glass or mirror assembly.
How can I tell if my new mirror caps are fitted correctly?
Check the cap from several angles in good light. Look for even gaps, aligned edges, secure retention, and no visible movement, rattles or adhesive residue. Don’t pull or bend the cap to test it. Move the mirror through its normal adjustment range and check any integrated features affected by the installation. If alignment is uneven or the cap feels loose, identify the cause rather than adding adhesive or force.
Can a specialist install or repair carbon fiber mirror caps?
A carbon-fibre specialist may be a good option if fitment is complex, the removal method is uncertain, clips are damaged or the cap itself needs repair. Vanguard lists Carbon Fibre Installation & Repair as a service, but mirror-cap work and vehicle compatibility should be confirmed directly. Share your vehicle details and describe the requested installation or damage so the team can confirm whether it can assist.