
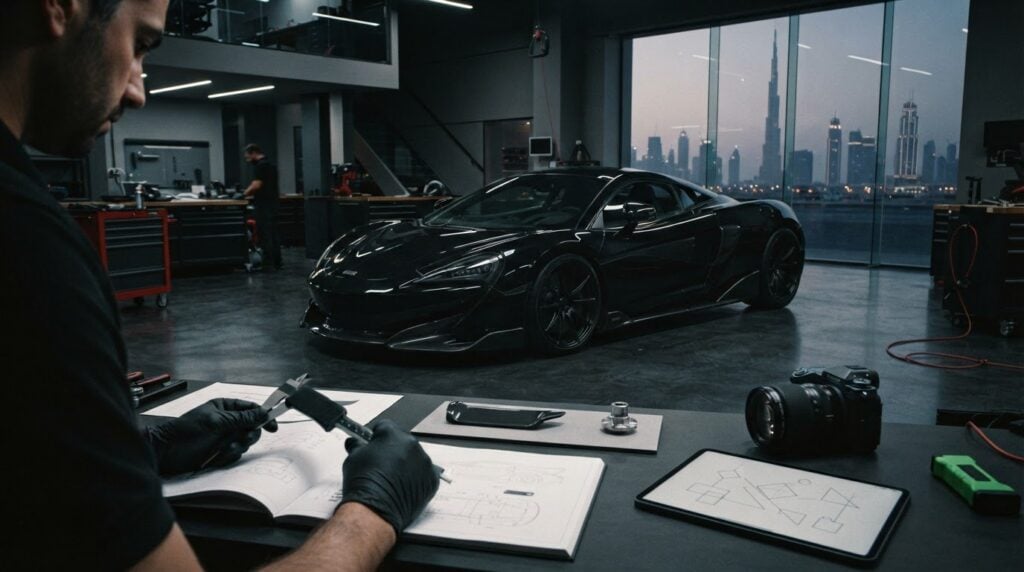
A custom build is only as clear as its documentation. A vehicle build sheet is the working record of the car’s original details and planned modifications, including parts, design choices, budget, and installation notes. Creating a build sheet for your customized vehicle starts with recording its identity and current condition; according to the National Highway Traffic Safety Administration, a modern vehicle VIN contains 17 characters.
It’s easy to focus on the finished look or performance upgrades and leave the details for later. A clear build sheet keeps your vision, decisions, and work history together, making it easier to track what’s planned, installed, and still outstanding.
This guide explains how to document your vehicle, set a realistic project direction and budget, organize parts and manufacturer codes, and record photos and installation details. You’ll create a practical reference to keep your custom build organized from the first idea through each completed upgrade.
Key Takeaways
- Record the vehicle’s identity and present condition before planning modifications, so the original baseline stays clear.
- Keep photos, mileage, maintenance records, and installation notes together to build a useful project history.
- Define the finished look, priorities, budget, and timeline before selecting parts or scheduling work.
- Use manufacturer-specific decoding guides to interpret factory option and component codes accurately.
- Organize design references, renderings, and parts information so each decision supports a cohesive build.
Recording vehicle identification and starting condition
Start your build sheet with the vehicle’s identity and a precise baseline. These records help distinguish factory details from later changes.
-
Record Vehicle Identification Details
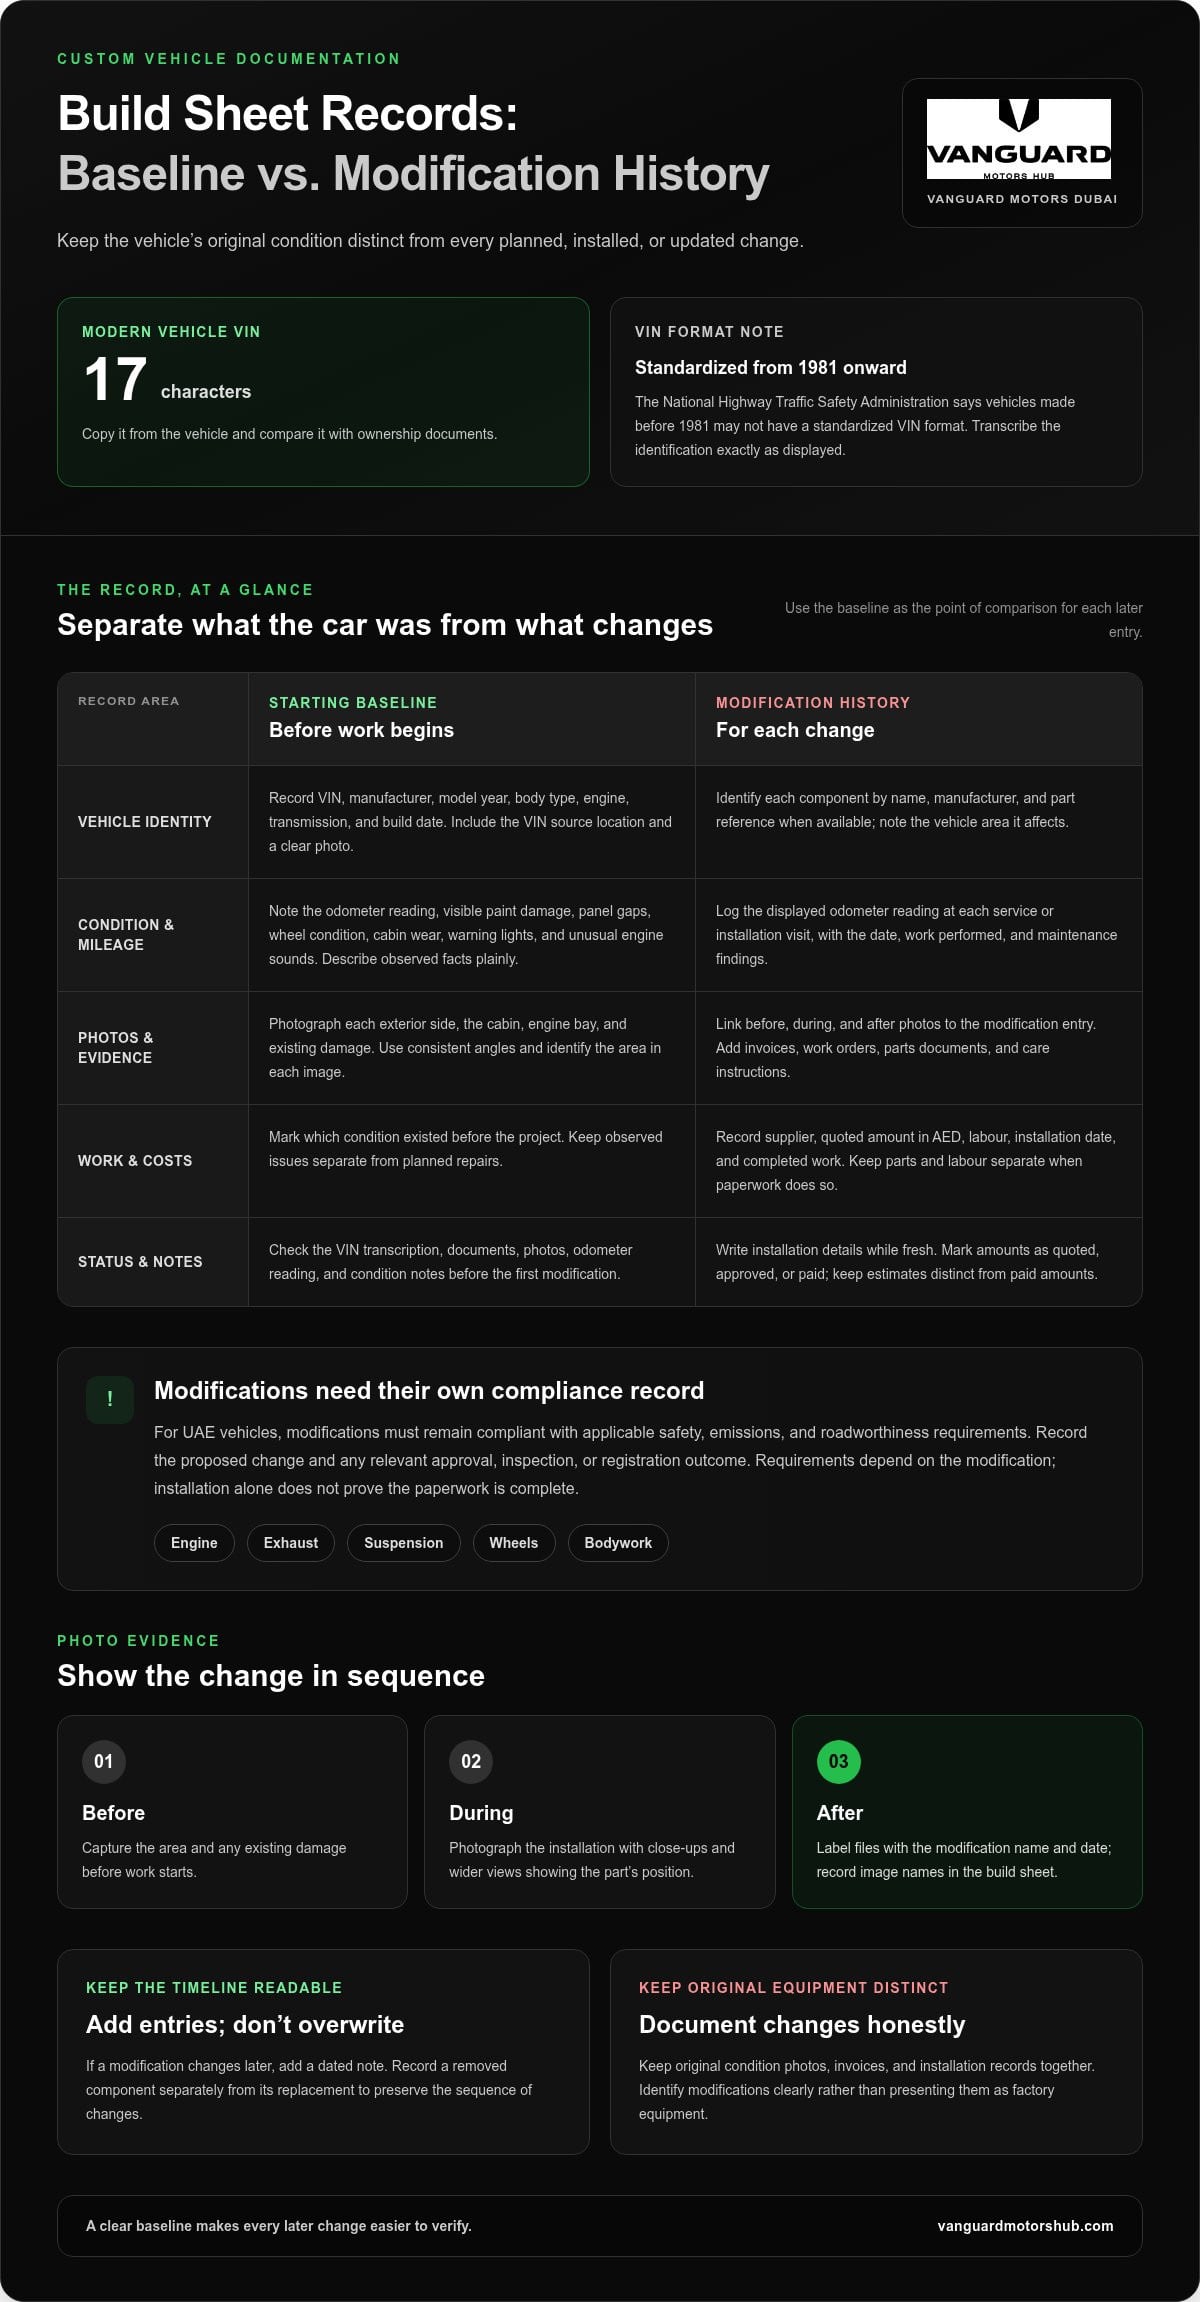
Copy the VIN directly from the vehicle and compare it with its ownership documents. A modern vehicle VIN contains 17 characters, according to the National Highway Traffic Safety Administration. Record the manufacturer, model year, body type, engine, transmission, and build date alongside it. The National Highway Traffic Safety Administration says the VIN was standardized by NHTSA from 1981 onward.
For a vehicle made before 1981, note that it may not have a standardized VIN format, according to the National Highway Traffic Safety Administration. Transcribe the identification exactly as displayed rather than forcing it into a modern format. Record the source location and keep a clear photograph with your notes.
-
Document the Starting Condition
Inspect the vehicle before work begins and describe its visible condition in plain terms. Note existing paint damage, panel gaps, wheel condition, cabin wear, warning lights, and unusual engine sounds. Separate observed facts from planned repairs. For example, write “scratch on left rear door” rather than “body needs work.”
Record the odometer reading and photograph each exterior side, the cabin, the engine bay, and any existing damage. Use consistent angles and identify the area shown in each image. Note whether each mark existed before the project, giving you a reliable baseline for later comparisons.
- Describe each planned modification and the systems it affects. In the UAE, modified vehicles must remain compliant with applicable safety, emissions, and roadworthiness requirements. List changes to the engine, exhaust, suspension, wheels, or bodywork, then identify which vehicle functions could be affected.
- Record approval-related decisions before installation. Whether inspection, approval, or registration updates apply depends on the modification and relevant UAE requirements. Note the proposed change and any approval or inspection outcome in the build sheet. Don’t treat installation as proof that the paperwork is complete.
- Add a note about insurance, warranty, and future resale. Changes to a vehicle’s specification can affect how coverage, warranty terms, or a buyer’s assessment are handled. Keep the original condition photos, invoices, and installation records together. Identify modifications clearly rather than presenting them as factory equipment.
- Check the baseline for missing information before the first modification. Compare the VIN transcription, documents, photographs, odometer reading, and condition notes. Correct discrepancies while the vehicle is still in its original state. A dated, legible record gives each later entry a clear point of comparison.
Attaching photos, mileage, maintenance, and installation notes
Document each modification with dated photos, odometer readings, maintenance entries, and installation records. For aftermarket parts, record the component, supplier, quoted amount in AED, labour, installation date, and related documents. The final price depends on the case and is provided after a quote request; parts, labour, and project scope shape the quote.
- Create a dedicated entry for every modification, including planned and completed work. Name each component clearly, such as an exhaust, carbon-fibre trim, or paint protection film. Add its manufacturer and part reference when available, then describe the affected vehicle area. This structure separates the installed specification from future ideas.
- Photograph each area before work, during installation, and after completion. Include close-ups and wider views that show the part’s position on the vehicle. Label files with the modification name and date, then note the corresponding image names in the build sheet. A photo of a wheel alone, for example, is less useful without identifying its corner.
- Log the odometer reading at each service or installation visit. Use the same unit and record the displayed reading exactly. Pair it with the date, work performed, and any maintenance findings. If a technician notes uneven wear or an engine concern, preserve that wording rather than replacing it with an unsupported diagnosis.
- Attach invoices, work orders, parts documentation, and care instructions to the corresponding entry. Keep the document’s date and supplier visible, and record the amount in AED. Separate part costs from labour and other listed charges when the paperwork does so. Never combine estimates with paid amounts; mark each clearly as quoted, approved, or paid.
- Write installation notes while the details are fresh. Record the work completed, components removed or retained, fitment observations, and any follow-up maintenance specified in the paperwork. For a carbon-fibre installation, identify the panel or trim affected and attach the related work record. Avoid broad notes such as “upgrade completed.”
- Keep a simple running log that links each entry to its evidence. If a modification changes later, add a dated note instead of overwriting the earlier record. For example, document a component as removed, then record its replacement in a separate entry. This preserves a readable sequence of the vehicle’s changes.
- If your plan includes PPF, keep the scope, installation record, and aftercare paperwork together. For a project-specific discussion of PPF installation details, share the relevant build-sheet notes with Vanguard Motors Dubai.
Discussing the vehicle vision, budget, and timeline
Set the project direction before selecting parts. A clear vision helps every budget and schedule decision support the same finished vehicle.
- Describe the vehicle’s intended character in one direct statement. For example, define it as a refined daily driver, a track-focused build, or a dramatic show car. Then list the outcomes that matter most, such as sharper handling, a distinctive exterior, or a more refined cabin. A specific purpose gives each later choice a clear test.
- Translate that vision into visible and functional priorities. Separate appearance goals, performance goals, protection, and comfort. For a premium road car, you might prioritize a cohesive exterior finish and cabin refinement before optional performance changes. Mark each item as essential, desirable, or a future consideration, so attractive additions don’t displace core objectives.
- Define the project’s boundaries in writing. Specify which vehicle areas can change and which must remain original. For example, preserve the factory interior while updating the exterior colour, or retain the existing powertrain while refining the body. Clear limits reduce conflicting decisions when you review design ideas and parts.
- Create a budget worksheet in AED with separate categories for parts, labour, finishing, and related project expenses. Enter quoted amounts against the relevant work, and distinguish approved spending from ideas still under consideration. Keep a running total and revise it whenever the scope changes. This makes the financial impact of each decision visible.
- Rank proposed work by importance and dependency. A body finish may need to follow body repairs, while trim selection should align with the chosen exterior concept. Note which decisions must come first and which can wait. This sequence helps prevent duplicate work, incompatible components, and spending on details that later plans replace.
- Build a project timeline around decision points, not unsupported promises. Record when the design must be finalized, when parts need to be selected, and when installation can begin. Mark dependencies such as completed repairs or approved colour choices. If a component’s arrival affects later work, show that link in the schedule rather than burying it in notes.
- Use milestone labels such as planned, selected, ordered, installed, and reviewed. Add the responsible person and next decision beside each task. For example, an exterior colour choice can move from planned to selected after you review a rendering. Clear statuses show what’s active without implying a fixed completion date.
- Review the vision, AED budget, and timeline together before approving changes. Ask whether each proposed part advances the original purpose, fits the available allocation, and respects the project sequence. Record the reason for major changes. This keeps the build coherent as new ideas emerge during planning.
Factory option and component codes
Capture factory codes exactly before interpreting them. Precise records distinguish original equipment from later changes and give each component a traceable reference.
- Find codes on the vehicle’s original build documents, labels, or component markings. Record each code exactly, preserving letters, numbers, spacing, and punctuation. Note where you found it, such as in a document, on an identification label, or on an engine component. A photograph alongside the transcription can help resolve unclear characters later.
- Identify the manufacturer and vehicle model before decoding an entry. Codes can vary between manufacturers and model lines, so don’t assume a familiar sequence means the same thing elsewhere. Add the model year and relevant vehicle details to the code record, keeping each code tied to the specific vehicle.
- Use manufacturer-specific decoding guides to interpret build-sheet codes accurately. Enter the guide’s description beside the original code, then retain the source title or document reference. For example, store a factory option code and its decoded feature in separate fields. This preserves the source text while making the equipment list easier to read.
- Keep each code separate from its interpretation. If a guide describes a code as an exterior finish or drivetrain option, record that wording without expanding its meaning. Avoid inferring performance, compatibility, or equipment details from a short code alone. This separation makes corrections straightforward if another manufacturer reference clarifies the entry.
- Compare decoded factory options with the vehicle’s current components. Note whether each item appears original, has been replaced, or cannot be matched visually. For example, log a factory wheel code beside the wheels currently fitted. This comparison helps identify changes without treating a code as proof of present condition.
- Create separate fields for factory codes, aftermarket part references, and installation notes. Record both when a part has changed, and link the replacement entry to its installation record. This distinction keeps the vehicle’s specification history clear.
- Flag unclear or incomplete codes for further documentation rather than guessing. Preserve the original transcription, describe the uncertainty in a note, and attach a legible image of the marking. If a character could be mistaken for another, record the alternatives until a manufacturer guide resolves the reading.
- Organize the decoded list by vehicle system, such as body, interior, engine, or transmission. Use consistent labels across the spreadsheet and link each entry to its supporting document. Before finalizing the section, compare every code with its reference and matching component. This creates a useful record for future parts decisions.
Renderings, design discussions, and part sourcing
Compare parts by fitment, function, finish, documentation, and quoted total in AED. Use manufacturer documentation and part references for specifications, then match them to the vehicle and intended installation.
- Start with a rendering that shows the vehicle from clear, consistent angles. Label each view and identify proposed changes, such as a new exterior colour, wheel finish, or body detail. Keep the original image beside the concept so reviewers can distinguish existing features from planned design work.
- Record each design decision beside its visual reference. Note the selected colour, surface finish, trim treatment, and any areas that must remain unchanged. If a discussion leads to a revised detail, preserve the earlier version and mark the new selection. This creates a traceable design sequence.
- Compare part options using the same criteria for each candidate. Record the intended function, material, dimensions, finish, fitment information, and quoted AED total. For example, compare wheel options by vehicle compatibility, appearance, and installation requirements rather than choosing on styling alone.
- Find specifications in manufacturer documents, product labels, and written fitment information. Match the stated application to the vehicle’s exact configuration, and keep the reference with the part entry. If specifications conflict across documents, flag the mismatch rather than assuming either description is correct.
- Separate confirmed specifications from design preferences. A rendering can communicate appearance, but it doesn’t establish a part’s dimensions or compatibility. Keep visual approval in the design notes and technical data in the sourcing record. This prevents a polished concept from being mistaken for installation-ready information.
- Track the sourcing status of every shortlisted component. Use clear labels such as under review, selected, ordered, received, or installed. Add the supplier name, quoted total in AED, product reference, and supporting document. Update the status when a choice changes, while retaining the previous entry for comparison.
- Check how each selected part relates to nearby components and planned work. A new finish may need to coordinate with trim, paint, or adjacent surfaces. Record dependencies and installation notes beside the relevant rendering. This helps prevent incompatible choices across separate areas of the build.
- Share the current rendering and part references for a focused design discussion. Ask reviewers to identify the exact image, component, and revision they’re commenting on. To discuss a vehicle design plan with Vanguard Motors Dubai, send your build concept.
Vanguard Motors Dubai: Paint Protection Film (PPF) Installation
Vanguard Motors Dubai installs Paint Protection Film (PPF) for custom builds that include protecting the vehicle’s finish. Bring your chosen design, finish priorities, and build-sheet notes to the project discussion so the scope aligns with your overall vision. For a different exterior direction, Colored Sticker Wraps and Peelable Paint Applications offer additional customization options. You can also consider the Vanguard Premium package.
Consider PPF when paint protection is part of your plan, and document the selected work alongside other exterior decisions. This keeps the build record aligned with the vehicle’s intended appearance.
Contact Vanguard Motors Dubai to discuss your vehicle’s customization plan, or visit vanguardmotorshub.com.
Turn your build plan into confident next steps
A custom vehicle plan is most useful when it guides decisions beyond the initial design. Treat the build sheet as a living project document: update it when priorities shift, retain earlier decisions, and use each revision to keep the finished car aligned with your intent.
Before moving forward, identify the next decision that needs attention. It might be refining the exterior concept, selecting a finish, or discussing paint protection. A focused conversation can help connect your build vision with practical customization options. Creating a build sheet for your customized vehicle gives you a clearer foundation for that discussion.
Bring your current plan and the questions you want resolved. Discuss your build with Vanguard Motors Dubai and explore a suitable next step for your project. Keep the vision ambitious, the decisions deliberate, and the finished vehicle unmistakably yours.
Frequently Asked Questions
What is a vehicle build sheet?
A vehicle build sheet is a structured record of a car’s original specification and later project decisions. It helps an owner distinguish factory equipment from selected, ordered, and installed changes. For example, a future buyer or technician can use it to understand why a component differs from the original configuration. Treat it as a working vehicle file, not simply a list of accessories.
Can I include parts I have not purchased yet?
Yes. Include planned parts so you can compare options before committing. Label each item clearly as an idea, shortlisted choice, selected part, or purchased component. For example, list two potential wheel finishes separately and note which remains under consideration. This prevents a proposed upgrade from being mistaken for something already fitted and lets you remove rejected options without losing the project’s decision history.
Is this a downloadable spreadsheet template?
You can create your own build sheet in spreadsheet software or use a document with tables and folders for supporting files. Start with columns for the item, status, reference, notes, and evidence. Add fields only when they help manage your project, such as a link between a design revision and its related component information.
What is a vehicle build sheet and what information should it include?
A build sheet connects the vehicle’s specification with its customization history. Include the vehicle identity, original equipment references, project priorities, parts under consideration, installation dates, and supporting documents. Add a status to each modification, such as planned or completed. For example, connect a changed exterior finish’s design reference and completion record to the same entry.
How do you create a build sheet for a customized vehicle step by step?
Begin with a vehicle record, then establish the project’s goals and organize work by system or category. Add proposed parts and design references, mark each item’s progress, and attach evidence as decisions become installations. Finish by reviewing the entries for missing links between components and work records. This sequence turns a broad custom-car idea into a trackable plan with clear next actions.
What vehicle details and VIN information should be included in a build sheet?
Include the VIN as displayed, plus the make, model, model year, body style, engine, transmission, and build date when available. Keep the VIN transcription separate from modification notes. For older vehicles with unusual identification formats, preserve the original characters and add a photograph of the marking. This gives later readers a useful reference without forcing historic details into a modern format.
Are there vehicle build sheet templates or apps for tracking customizations?
A spreadsheet, document, or project-tracking app can work if it preserves clear entries and supporting records. Choose a format that lets you search by component, category, or status, and store photographs and documents alongside relevant notes. For example, a spreadsheet can track part decisions while a linked folder holds design files. Keep a backup so the project record remains accessible if you change devices.