
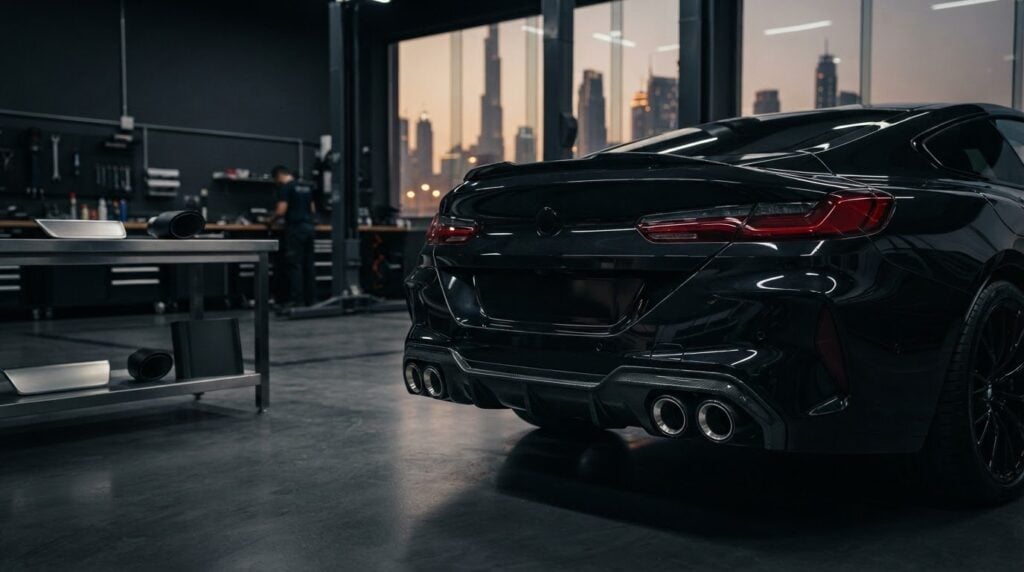
Four visible outlets can sharpen a vehicle’s rear profile, but a quad exhaust tip conversion involves more than styling. It changes a dual rear-pipe layout to a quad setup, and the total cost depends on vehicle fitment, exhaust components, and any diffuser adjustments.
The appeal is clear: matching tailpipes create a wider, more performance-focused finish. The challenge is making the tips, bumper, and diffuser work together so the result looks integrated, not added on.
This guide explains the main factors that shape conversion prices in the UAE, compares trim and tailpipe styles, and shows how rear diffusers accommodate a quad layout. You’ll also learn what the installation involves and which design decisions matter most when planning a precise, cohesive finish.
Key Takeaways
- Conversion cost depends on vehicle fitment, exhaust components and whether the rear bumper or diffuser needs adjustment.
- Compare trim by finish and shape, then consider how it will complement the vehicle’s existing rear styling.
- Check that the conversion is designed for your vehicle configuration; fitment can differ between models and drivetrains.
- Choose tailpipe placement and proportions alongside the diffuser, so the quad layout looks integrated rather than added on.
- For a wider exterior refresh, consider how PPF, colored wraps or peelable paint can complement the finished rear design.
Exhaust conversion prices
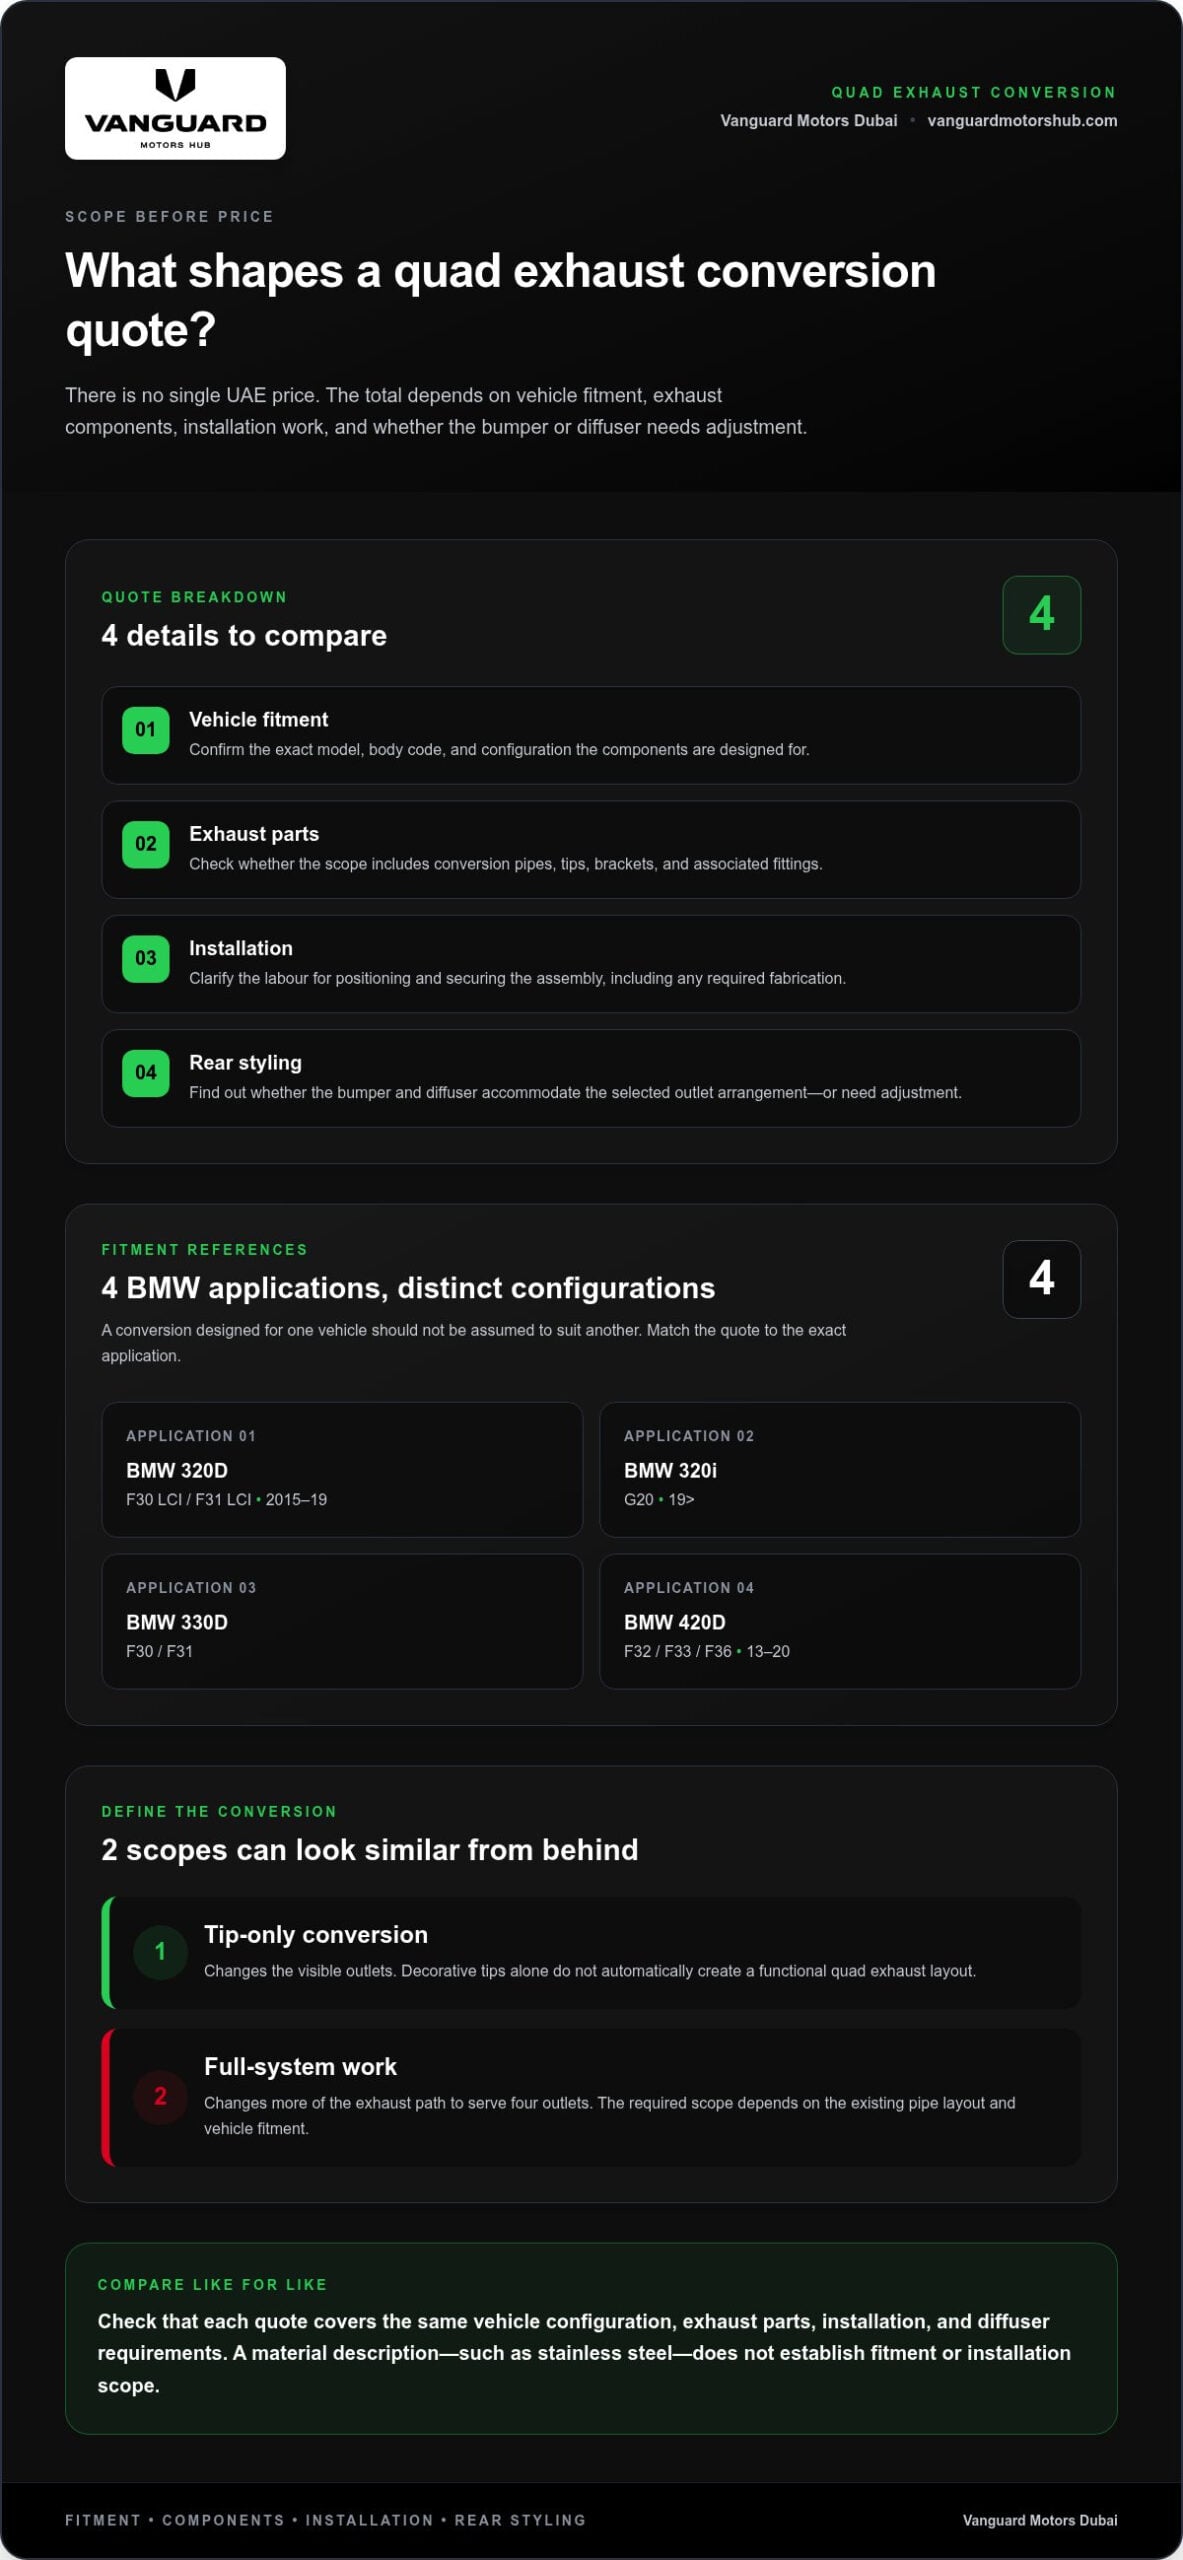
There’s no single UAE price for a quad exhaust tip conversion. The cost depends on the vehicle, selected exhaust components, installation work, and whether the bumper or diffuser needs adjustment. Request a quote based on these fitment and finish requirements to establish the scope.
Vehicle-specific fitment is a major factor. A BMW 320D (F30 LCI/F31 LCI) (2015-19) and a BMW 320i (G20) (19>) use different model configurations, so a conversion designed for one shouldn’t be assumed to suit the other. The BMW 330D (F30/F31) and BMW 420D (F32/F33/F36) (13-20) are further examples of applications with distinct fitment requirements.
Before comparing quotes, identify exactly what work is included. Separate the exhaust hardware from additional rear-end changes, and ask for a clear breakdown covering:
- Vehicle fitment: the exact model, body code and configuration the components are designed for.
- Exhaust parts: whether the scope covers the conversion pipes, tips, brackets and associated fittings.
- Installation: the labour involved in positioning and securing the assembly, including any required fabrication.
- Rear styling: whether the existing bumper and diffuser can accommodate the chosen outlet arrangement.
These details explain why two quad conversions can have different scopes, even when both display four outlets. A compatible kit may need only straightforward installation, while another setup could require custom pipe routing, altered mounting points, or diffuser adjustments. Tip material, finish, and dimensions also affect fitment and alignment with the rear bumper.
Start with the vehicle’s exact model information. Then define the desired finish and clarify whether the conversion changes only the visible tips or the underlying exhaust layout as well. A dual-to-quad change may require more than replacing the end pieces: the pipework and outlet positions must support the new arrangement. A clear scope keeps a tip-only estimate from being mistaken for a complete conversion quote.
Compare quotes by the work included, not just the headline price. Check that each covers the same vehicle configuration, parts, installation, and diffuser requirements. A stainless-steel kit describes the material, for example, but doesn’t establish fitment or installation scope. A precise quote should clarify these distinctions before work begins.
Listed examples are references for particular applications, not a single price for every quad exhaust conversion.
The “from” price is presented differently from the other listed prices, so confirm what the quote includes before comparing the figures directly. Check that the listed application matches the vehicle and whether the quote covers the required exhaust parts and installation. Clarify any bumper or diffuser work too, so the quote reflects the full conversion, not just its visible outlets.
Exhaust tip trim
Trim changes how four tailpipe outlets frame the rear bumper. Consider outlet shape, edge profile, surface finish, and how much of each tip remains visible. A polished rim creates crisp contrast, while a darker finish can make the outlets recede visually. Match all four tips for a unified appearance, then compare their proportions with the bumper opening.
Start with the outlet dimensions. A BMW 435i conversion used stainless-steel tips with a 3-inch outer diameter, illustrating how diameter affects the visual balance. Larger outlets can appear more prominent, but they also need enough bumper and diffuser clearance. Measure the opening and assess the tip’s outer diameter, depth and angle before settling on a trim style.
Material and finish are separate choices. Stainless steel describes the tip material, not whether its surface is polished, darkened, or styled another way. One listed product identifies carbon fibre as its selected colour. Treat that as a finish description, not a material specification. For a consistent rear view, compare the trim with nearby details such as the diffuser, bumper accents, and wheel finish.
- Shape: Compare round, oval or angular profiles against the bumper’s design lines.
- Edge: A rolled edge presents a softer outline; a sharper cut creates a more technical appearance.
- Finish: Coordinate the tip surface with visible rear trim rather than selecting it in isolation.
- Projection: Keep the outlet position visually balanced and aligned across both sides.
Next, assess symmetry from directly behind the vehicle. The four outlets should sit at consistent heights and project evenly, with similar gaps around the bumper openings. Check from a slight angle, too: this reveals whether the outer pair looks too far apart or the inner pair crowds the centre. A measured mock-up helps compare proportions before final installation.
Trim can also affect cleaning and upkeep. Recessed edges and layered profiles may collect residue differently from simpler, open-ended designs. Consider the access around each outlet, especially when four tips sit close together. Don’t choose a finish based only on a product photo: the bumper colour, diffuser shape, and daylight can change how it looks once installed.
For a tailored quad exhaust tip conversion, discuss tip trim and fitment around your vehicle’s rear layout. Share the model and a clear rear view so the finish, outlet proportions and surrounding trim can be considered together.
Quad exhaust conversions
A four-outlet appearance can come from cosmetic tip changes or a broader exhaust-system conversion. The right scope depends on the existing pipe layout, vehicle fitment, bumper clearance, and your desired result.
Tip-Only Versus Full-System Work
A tip-only conversion changes the visible outlets; a full quad system changes more of the exhaust path to serve four outlets. The distinction matters because decorative tips don’t automatically create a functional quad exhaust layout. Check whether the existing pipes can feed the new outlets, then compare the proposed work with your intended sound and appearance.
In the UAE, treat exhaust changes as vehicle modifications rather than assuming decorative changes are automatically exempt. Approval or inspection considerations depend on the modification’s effect on the exhaust system, including noise or emissions equipment. Preserve the vehicle’s original emissions-control components and assess the finished system against applicable requirements.
Vehicle Fitment and Required Parts
Quad tips can be fitted to single or dual systems, but the pipework must route exhaust to each outlet. A single pipe may need additional branches; a dual layout may need extensions or revised routing. For example, a quad conversion kit is specified for Volkswagen CC models from 2009 to 2017 with 2.0T or TDI front-wheel-drive configurations. That fitment detail shows why model and drivetrain matter.
Typical components include four tips, connecting pipes or branches, clamps or brackets, and compatible mounting points. The bumper opening and diffuser must also provide clearance. Match the inlet diameter, outlet position, and pipe routing to the vehicle before installation; a tip’s appearance alone doesn’t establish compatibility.
Welding and Installation Risks
Welding isn’t always required. One conversion’s product description says installation uses tightened bolts and requires no welding or drilling. Other layouts may need different fabrication, depending on the kit and original exhaust. Confirm the joining method in the installation design rather than assuming every bolt-on setup suits every vehicle.
Poor alignment can leave outlets uneven, too close to the bumper, or inadequately supported. Excess movement can strain joints, while insufficient clearance can expose surrounding components to heat. Careful installation checks symmetry, secure mounting, sealed joints, and clearance as the exhaust moves.
Sound, Performance, and Emissions Effects
Changing only the tips usually affects appearance more than exhaust character. Sound, flow, and performance depend on the broader system, including pipe diameter, mufflers, and restrictions. A full-system change can produce a different result from decorative outlets, so assess the components being altered rather than judging by the four-tip layout.
Fuel economy and emissions depend on engine operation and the complete exhaust system; four visible tips alone don’t establish an improvement or a change. Keep emissions-control equipment intact. Before choosing the installation scope, compare the planned layout with the vehicle’s existing pipework, sound profile, and emissions components.
Quad tailpipe styles
The right tailpipe style balances the vehicle’s rear design with the available exhaust routing. In the UAE, start with exact vehicle fitment, then compare outlet shape, diameter, finish and projection as a coordinated set.
For popular cars in the UAE, choose a model-specific setup that matches the bumper and underlying pipework rather than relying on a universal tip style. BMW conversions offer examples across several models, while a Volkswagen CC kit is specified for particular model years and drivetrain configurations.
Round outlets create a classic performance look, while oval tips emphasize width across the bumper. Angular or rectangular profiles can suit sharper rear styling, but only if the diffuser opening and mounting position accommodate them. A matching set keeps all four outlets consistent; mixing shapes can make the rear look unbalanced.
Finish shapes the overall effect. Polished stainless steel makes the outlets prominent, while darker finishes create less contrast against a dark diffuser. Carbon fibre is listed as a selected product colour for one conversion, but that doesn’t establish the material of the tips. Compare the finish with the vehicle’s bumper, diffuser, and rear trim in natural light.
Outer diameter and inlet diameter serve different purposes. The outer diameter describes the visible opening; the inlet must suit the connecting exhaust pipe or adapter. A BMW 435i conversion used stainless-steel tips with a 3-inch outer diameter, but that example isn’t a universal size recommendation. Measure the existing pipe and selected tip before matching components.
Before choosing, assess these fitment details:
- Pipe connection: Match the tip inlet to the pipe’s outside diameter and joining method.
- Outlet spacing: Align the inner and outer tips with the bumper openings.
- Tip depth: Set projection so outlets sit evenly without appearing excessively recessed or extended.
- Clearance: Account for the diffuser edge and surrounding bumper surfaces.
For a BMW 435i, the documented 3-inch outer diameter offers a concrete reference for appearance, not a guaranteed match for every configuration. A BMW 320D, BMW 320i or Volkswagen CC requires its own fitment assessment. Model, body configuration and existing exhaust layout determine the relevant inlet and outlet dimensions.
Choose the style only after measuring the exhaust pipe and checking the rear openings. This helps prevent a visually appealing tip from being incompatible with the vehicle’s exhaust connection or diffuser.
Rear diffusers and tailpipes
A quad layout changes how exhaust outlets occupy the rear bumper, so diffuser compatibility matters as much as tip selection. A conversion from dual rear pipes to a quad setup needs outlet positions that align with the diffuser openings.
The diffuser frames the tailpipes and determines how much of each outlet is visible. A narrow opening can crowd four tips, while widely spaced outlets may sit beyond its intended contours. The BMW 435i example used a custom-width diffuser to accommodate dual exhaust tips, showing how diffuser dimensions can be tailored around an exhaust arrangement.
Before installation, compare the existing bumper and diffuser with the proposed tailpipe positions. Follow a fitment sequence such as:
- Map the outlets: Mark where each of the four tips should sit relative to the bumper.
- Assess the diffuser: Compare its openings with the planned tip spacing and outer diameter.
- Check clearance: Make sure tips don’t contact the diffuser or surrounding bumper surfaces.
- Review symmetry: View the rear straight on and confirm both sides appear balanced.
These steps help distinguish a compatible diffuser from one that needs modification or replacement. A dual-exit diffuser, for example, may lack openings for the additional outlets, even if the exhaust pipes can support a quad layout. Cutting or reshaping the diffuser changes the finish, so decide on the opening shape before fitting the tips.
Outlet projection also affects the finished profile. Tips set too far inward can look recessed behind the diffuser; excessive projection can disrupt the bumper’s lines. Position each tip consistently, then view the vehicle from directly behind and at an angle. This reveals uneven spacing that can be hard to spot up close.
Consider materials and finishes together. Darker tips can blend with a dark diffuser, while polished outlets stand out against a contrasting surface. Keep all four outlets aligned in height and angle. If the diffuser has a pronounced centre section, balance the inner tips with that feature rather than spacing all four mechanically.
A clean installation depends on the complete rear assembly, not the tips alone. Coordinate pipe routing, mounting points, diffuser openings and bumper clearance before final fitting. For a BMW 435i-style arrangement, the custom-width diffuser example illustrates how the surrounding panel can be adapted to the exhaust layout.
Plan your diffuser and tailpipe fitment around the vehicle’s existing bumper, outlet spacing and chosen quad configuration.
The listing describes the exhaust conversion as an upgrade from dual rear pipes to a quad setup. Treat it as a complete rear-end fitment decision: the added outlets need to work with the diffuser openings, bumper contours, and planned tip positions. Confirm the layout before committing to alterations, so the finished assembly follows a consistent line instead of forcing tips into unsuitable openings.
After assessing the diffuser and outlet positions together, check the rear view again before final fitting. The four tips should form a balanced arrangement, with suitable clearance and consistent projection. If the existing diffuser doesn’t match the planned layout, decide whether modification or replacement best preserves the intended finish.
Vanguard Motors Dubai: Paint Protection Film (PPF) Installation
Vanguard Motors Dubai offers exhaust modifications alongside Paint Protection Film (PPF) Installation for drivers considering broader exterior care. After choosing a tailpipe and diffuser design, consider PPF as a separate step to protect painted bodywork. It complements the visual upgrade without changing the exhaust system.
For a different exterior direction, Colored Sticker Wraps and Peelable Paint Applications offer alternative ways to change a vehicle’s appearance. The Vanguard Premium Package is another available option. Each serves a different purpose, so consider whether your priority is paint protection or a refreshed finish.
If you’re planning a rear-end update alongside broader exterior work, contact Vanguard Motors Dubai to discuss exhaust modifications and exterior services.
Shape the Next Stage of Your Exterior
Your next decision can shape more than the vehicle’s rear. Let a quad exhaust tip conversion support a broader design direction rather than treating it as an isolated detail. Consider whether your next priority is protecting the existing paint or changing the vehicle’s overall appearance. This helps keep future exterior choices intentional, from the body finish to the contrast of the rear profile.
Vanguard Motors Dubai offers Paint Protection Film (PPF) Installation, Colored Sticker Wraps, and Peelable Paint Applications. Each serves a different exterior goal: protecting paint, refreshing the vehicle’s look with a wrap, or applying a peelable paint finish. Consider how the selected finish complements the vehicle’s colour and existing details, then choose the direction that suits your plans.
Discuss your exterior plans with Vanguard Motors Dubai. Make your next enhancement a considered one.
Frequently Asked Questions
How much does a quad exhaust tip conversion cost in the UAE?
There’s no single UAE price: the total depends on the vehicle and included work. A quote should distinguish a tip-only change from altered exhaust routing, as well as any bumper or diffuser modifications. Vanguard Motors Dubai provides pricing for exhaust modifications after a quote request. Include the vehicle’s exact model and describe the desired finish to clarify the requested scope.
What exhaust tip sizes and inlet diameters are needed for a quad conversion?
Sizes depend on the vehicle and bumper clearance. The article gives a BMW 435i example with stainless-steel tips measuring 3 inches in outer diameter, but no specific inlet diameter; match the inlet to the vehicle’s pipework.
How to install quad exhaust tips step by step?
Confirm vehicle fitment, pipe routing, and bumper or diffuser clearance. Then position and secure the compatible tips, pipes, and brackets using the kit’s specified installation method. Check that the outlets are aligned and evenly spaced, the mounts are secure, the joints are sealed, and clearance is adequate. Some kits use tightened bolts without welding or drilling.